
Developer
Navigating HTML
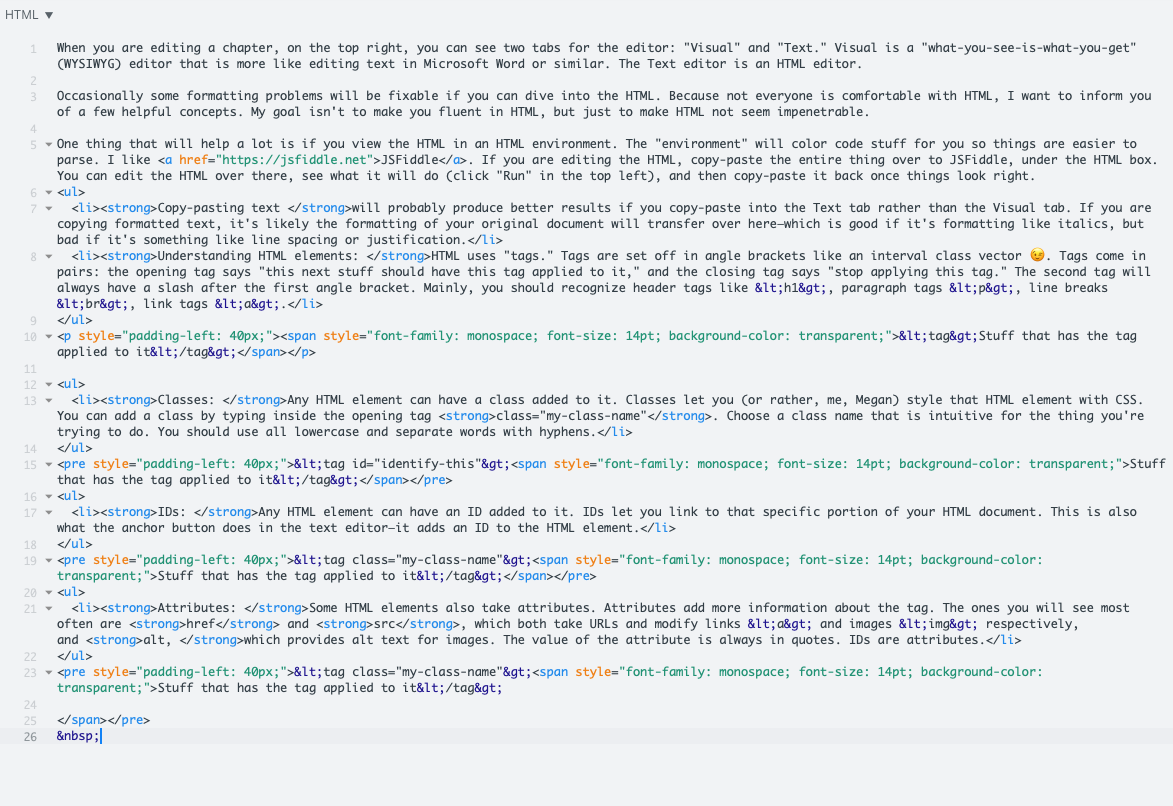
When you are editing a chapter, on the top right, you can see two tabs for the editor: “Visual” and “Text.” Visual is a “what-you-see-is-what-you-get” (WYSIWYG) editor that is more like editing text in Microsoft Word or similar. The Text editor is an HTML editor.
Occasionally some formatting problems will be fixable if you can dive into the HTML. Because not everyone is comfortable with HTML, I want to inform you of a few helpful concepts. My goal isn’t to make you fluent in HTML, but just to make HTML not seem impenetrable.
One thing that will help a lot is if you view the HTML in an HTML environment. The “environment” will color code stuff for you so things are easier to parse. I like JSFiddle. If you are editing the HTML, copy-paste the entire thing over to JSFiddle, under the HTML box. You can edit the HTML over there, see what it will do (click “Run” in the top left), and then copy-paste it back once things look right.
- Copy-pasting text will probably produce better results if you copy-paste into the Text tab rather than the Visual tab. If you are copying formatted text, it’s likely the formatting of your original document will transfer over here—which is good if it’s formatting like italics, but bad if it’s something like line spacing or justification.
- Understanding HTML elements: HTML uses “tags.” Tags are set off in angle brackets like an interval class vector 😉. Tags come in pairs: the opening tag says “this next stuff should have this tag applied to it,” and the closing tag says “stop applying this tag.” The second tag will always have a slash after the first angle bracket. Mainly, you should recognize header tags like <h1>, paragraph tags <p>, line breaks <br>, link tags <a>.
<tag>Stuff that has the tag applied to it</tag>
- Classes: Any HTML element can have a class added to it. Classes let you (or rather, me, Megan) style that HTML element with CSS. You can add a class by typing inside the opening tag class=”my-class-name”. Choose a class name that is intuitive for the thing you’re trying to do. You should use all lowercase and separate words with hyphens.
<tag class="identify-this">Stuff that has the tag applied to it</tag>
- IDs: Any HTML element can have an ID added to it. IDs let you link to that specific portion of your HTML document. This is also what the anchor button does in the text editor—it adds an ID to the HTML element.
<tag id="my-class-name">Stuff that has the tag applied to it</tag>
- Attributes: Some HTML elements also take attributes. Attributes add more information about the tag. The ones you will see most often are href and src, which both take URLs and modify links <a> and images <img> respectively, and alt, which provides alt text for images. The value of the attribute is always in quotes. IDs are attributes.
<tag class="my-class-name">Stuff that has the tag applied to it</tag>